Build a High-Quality Home Recording Studio for Under $1500 – Here's How!
Have you ever dreamt of producing studio-quality music without having to spend a fortune? or even stepping out of your home? Well, you’re not alone! Many aspiring musicians and producers believe setting up a professional recording studio is too expensive or requires a massive space. What if I told you it’s possible to create a top-notch home studio—right in your bedroom—for less than $1500? Yes, you read that right! In this blog, we’ll show that this myth is false. Quality doesn't necessarily equal high cost, and we'll show you how to transform any corner of your home into a music production powerhouse. You’ll discover the exact four pieces of equipment you need to kickstart your creative journey, how to set them up for maximum results, and why this setup can rival what the pros use, all without breaking the bank. Stick with me, and by the end of this post, you'll not only have the blueprint for an affordable home studio but the confidence to make it happen. Ready to take the first step toward bringing your music dreams to life? Let’s get going!
MUSIC PRODUCTION
L. Griffith jr.
12/3/20245 min read
Producing professional-quality music from the comfort of your home may sound like a dream, but it’s more achievable than you think. Gone are the days when recording studios meant renting expensive spaces and using equipment worth tens of thousands of dollars. Today, with just under $1500, you can build a home recording studio that delivers crisp, high-quality sound without compromising on performance.
In this guide, I’ll walk you through setting up a professional home studio with just four essential products, all available on Amazon. By the time you’re done reading, you’ll have everything you need to create chart-topping tracks right in your own home.
Step 1: Choose the Right Space
The first step to building your studio is choosing where it will live. While you don’t need a massive dedicated room, you do need a space that works well acoustically. Bedrooms, small offices, or even a quiet corner in your living room or basement can become a recording space with a bit of creativity.
Here are some tips for selecting your recording space:
Pick a quiet location. Choose a spot far from noisy appliances, traffic sounds, or high foot traffic areas. The quieter the environment, the cleaner your recordings will be.
Control the acoustics. Hard surfaces like walls and windows can cause sound reflections that distort recordings. Adding simple acoustic foam panels, quilts, comforters, or even heavy curtains can make a big difference.
Consider comfort. You’ll likely spend hours in your studio, so ensure your space is comfortable enough to support your creative flow. A good chair and proper lighting go a long way.
Step 2: Essential Equipment Breakdown
Now, let’s get into the heart of your studio: the equipment. With the right tools, you can produce music that rivals what comes out of professional studios. Here are the four products you’ll need and why they’re essential:
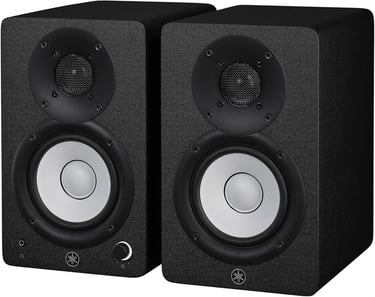
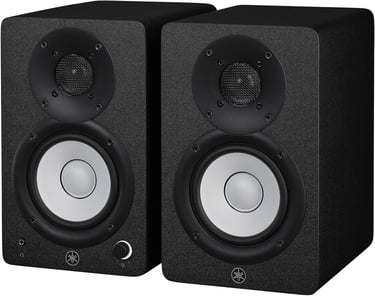
Yamaha HS4 Powered Studio Monitors (Pair)
Studio monitors are the backbone of any recording setup, and the Yamaha HS4 Powered Studio Monitors are no exception. Designed with precision and clarity in mind, these monitors ensure that what you hear is exactly what you’ll get in your final mix.
Key features:
Compact size, perfect for small spaces.
Accurate sound reproduction with minimal coloration.
Sleek black design that blends seamlessly into any studio aesthetic.
Unlike regular speakers, studio monitors provide a flat frequency response, allowing you to hear your music as it truly sounds. This accuracy is critical for mixing and mastering.
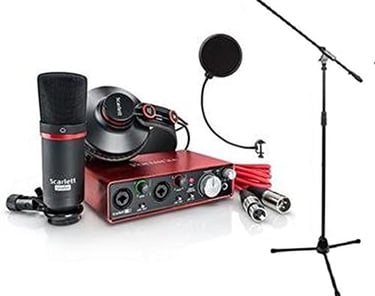
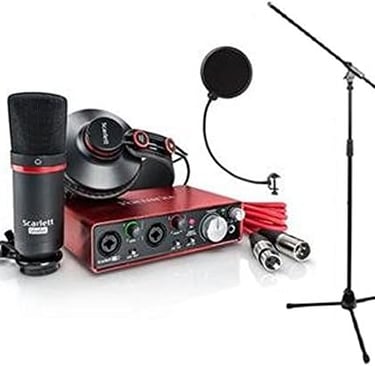
2. Focusrite Scarlett Studio Pack
This all-in-one package includes everything you need to record vocals and instruments: the Scarlett 2i2 audio interface, CM25 condenser microphone, closed-back headphones, and essential accessories like a mic cable, boom stand, and pop filter. This is a good starter kit; you can upgrade later.
What makes it great:
The Scarlett 2i2 interface provides crystal-clear audio input and output.
The CM25 mic captures rich, detailed vocals.
Comfortable headphones ensure accurate monitoring during long sessions.
This bundle also includes a code for a software bundle, giving you access to industry-standard tools to kickstart your production journey.
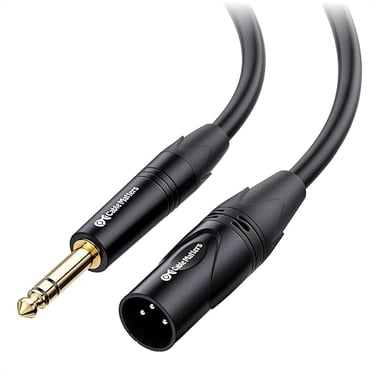
3. Cable Matters 6.35mm TRS to XLR Cables
Cables may not be the most exciting part of your studio, but they’re the unsung heroes of great sound. The Cable Matters 6.35mm TRS to XLR cables ensure a strong, noise-free connection between your interface and monitors.
Why these cables matter
Durable design for long-term use.
Clear signal transmission with minimal interference.
10-foot length offers flexibility in setup.
With two of these cables, you’ll have all the connectivity you need to link your gear.
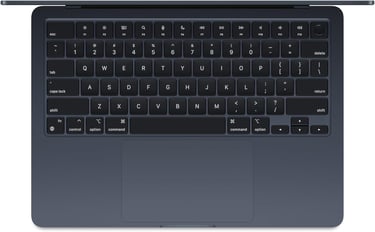
4. Apple 2024 MacBook Air with M3 Chip
Your computer is the brain of your recording studio, and the Apple 2024 MacBook Air is a powerhouse for music production. With the M3 chip, it delivers seamless performance, even when running demanding software and plugins.
Why it’s a must-have:
Lightweight and portable, perfect for mobile producers.
16GB unified memory for smooth multitasking.
13.6-inch Liquid Retina display for precise editing.
Whether you’re recording, editing, mixing, or mastering, this laptop has the speed and power to handle it all.
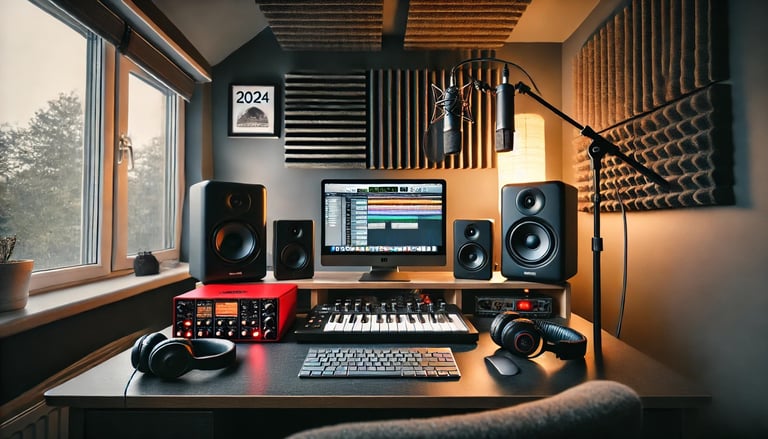
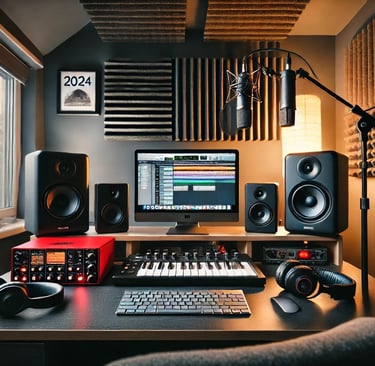
Step 3: Assembling Your Studio
Setting up your studio doesn’t have to be complicated. Follow these steps to get everything connected and ready to go:
Place your studio monitors. Position them at ear level and form an equilateral triangle with your listening position for the best sound clarity.
Connect your interface. Plug the Scarlett 2i2 into your MacBook Air using the provided USB cable.
Set up the mic. Attach the CM25 mic to the boom stand and connect it to the interface using the included XLR cable.
Hook up the monitors. Use the TRS to XLR cables to connect the Yamaha monitors to the interface.
Power up and test. Turn everything on, adjust the settings, and test the connections to ensure clean audio flow.
Step 4: Software and Plugins
A studio is only as good as the tools it runs, and the software bundle included with the Scarlett Studio Pack is a great starting point. Here’s what you’ll get and how to use it:
Digital Audio Workstation (DAW): Access to professional-grade DAWs like Ableton Live Lite for recording and mixing.
Plugins: Essential effects like EQ, reverb, and compression to shape your sound.
To expand your capabilities, consider downloading free or affordable plugins like:
Spitfire LABS: High-quality virtual instruments for free.
iZotope Ozone Elements: Budget-friendly mastering tools.
Logic Pro: Budget-friendly and highly recommended.
Step 5: Fine-Tuning Your Studio
With your equipment set up and software installed, it’s time to optimize your studio for the best possible performance.
Monitor placement: Experiment with different positions to minimize reflections and achieve a balanced sound.
Acoustic treatment: Use foam panels, rugs, or even bookshelves to absorb unwanted sound and improve clarity.
Volume calibration: Set your monitors to a consistent level for accurate mixing.
Step 6: Maximize Your Investment
While this setup is powerful on its own, there are always ways to enhance your studio on a budget:
DIY acoustic panels: Build your panels using inexpensive materials like wooden frames and insulation.
Upgrade accessories: Swap out cables, stands, or headphones for higher-quality options as your needs grow.
Invest in education: Take online courses or watch tutorials to refine your production skills
Conclusion
Building a high-quality home recording studio doesn’t have to be complicated or expensive. With just four essential products—Yamaha HS4 monitors, the Focusrite Scarlett Studio Pack, Cable Matters cables, and the Apple MacBook Air—you can create a professional-grade studio for under $1500.
Now it’s your turn. Whether you’re recording your next big hit or producing a podcast, this setup will give you everything you need to sound your best. Ready to make your music dreams a reality? Click the links below to grab your gear and start creating today.
Check out the products mentioned in this guide on Amazon and get started on your studio today!
1. Yamaha HS4 Powered Studio Monitor in Black, Pair (HS4 B) $187.00